关于 Testing Library 的一些思考
死磕单元测试的过程中,渐渐对 Testing Library 产生了一些思考。正好发现中文网络中对于 Testing Library 的相关内容挺少的 (也可能是我信息茧房了),并且大多数都是 CSDN 之类的货色;于是决定写篇文章好好掰扯掰扯。
Why Testing Library?🔗
Testing Library 是一个流行的轻量级的帮助编写测试的工具箱 (不是框架!!!)。主要是为各种测试框架封装了许多常用的功能 (渲染组件、查找 DOM 节点的方法、各种实用功能)。因为轻量,所以运行速度贼快,这对单元测试至关重要!同时具有很好的通用性,拥有一套放之四海而皆准的最佳实践 (尽可能使测试接近真实的网页使用方式),避免学一个框架学一套测试实践的尴尬;并且拥有强大的功能,可以很轻松的编写出精练又稳健的测试代码。
The more your tests resemble the way your software is used, the more confidence they can give you. 您的测试越像真实软件的使用方式,它们能赋予您的信心就越大。
Testing Library 同时支持多种前端框架与多种测试框架,这里就以博主主修的 React + 最熟悉的 Jest 为例进行讲解。
安装 Testing Library🔗
我们假设你已经安装并配置好了 React + Jest。
然后我们使用 npm 安装 Testing Library:
npm install --save-dev @testing-library/react @testing-library/jest-dom
然后在你的 Jest Setup 文件中引入 Testing Library:
import "@testing-library/jest-dom/extend-expect";
然后就可以愉快的用 Testing Library 来写单元测试了:
import { render, screen } from "@testing-library/react";
import Home from "../pages/index";
import "@testing-library/jest-dom";

describe("Home", () => {
  it("renders a heading", () => {
    const { container } = render(<Home />);

    expect(
      screen.getByRole("heading", {
        name: /react/i,
      }),
    ).toBeInTheDocument();

    expect(container).toMatchSnapshot();
  });
});
使用 Testing Library 编写测试🔗
使用 Testing Library 编写测试大体来讲分为两个步骤:
- 渲染组件为 DOM 节点
- 查找 DOM 节点并判断其是否符合预期
两个步骤分别对应了我们最常用的两个函数 render 和 screen;我们先使用 render 渲染组件,然后在 screen 上查找 DOM 节点,最后用 expect 进行断言。
render 没什么好说的,毕竟不渲染 DOM 树,我们这么测试嘛?
Testing Library 为我们提供了三类方法用于查找 DOM 节点:get(All)By...,find(All)By... 和 query(All)By...。它们之间的主要区别在于它们在没找到我们需要的节点时,是抛出错误,还是返回 null,亦或者是返回一个 Promise 并重试。如果我们使用 (get|find|query)By... 进行查询,它们会返回一个准确的 DOM 节点,如果找到了多个符合查找的 DOM 节点则会报错;这种情况我们应该使用 (get|find|query)AllBy...,它们会返回一个 DOM 数组。
| 查询类型 | 无匹配 | 一个匹配 | 大于一个匹配 | 重试?(Async/Await) |
|---|---|---|---|---|
getBy... | 报错 | 返回 DOM 节点 | 报错 | No |
queryBy... | 报错 | 返回 DOM 节点 | 报错 | No |
findBy... | 报错 | 返回 DOM 节点 | 报错 | Yes |
getAllBy... | 报错 | 返回 DOM 数组 | 返回 DOM 数组 | No |
queryAllBy... | 返回 [] | 返回 DOM 数组 | 返回 DOM 数组 | No |
findAllBy... | 报错 | 返回 DOM 数组 | 返回 DOM 数组 | Yes |
更多细节请参考官方文档。
按照一般的逻辑,我们一般最常用的是 getByText 这类匹配文字的方法。但实际上 Testing Library 最推荐使用的测试方法是 getByRole!getByRole 查找的是该节点的 WAI-ARIA Roles。我们一般将它称之为可访问性;简单来讲,这是为屏幕阅读器设计的,目的是为了帮助盲人朋友们使用电脑。所以,虽然 getByRole 使用起来比 getByText 更加麻烦,但如果你无法通过 getByRole 查找到你想要访问的节点,那么屏幕阅读器也无法正常的访问到它!换句话说,你网站的可访问性不足!这对普通人来说可能没有什么,但对盲人朋友来说,这是致命的。
另外,WAI-ARIA Roles 这一整套 API 是为屏幕阅读器 (机器) 设计的,而同样作为非自然人的 Testing Library 优先使用这套 API 不是天经地义?
更多关于 WAI-ARIA Roles 和提高网站可访问性的内容请参考:可访问性
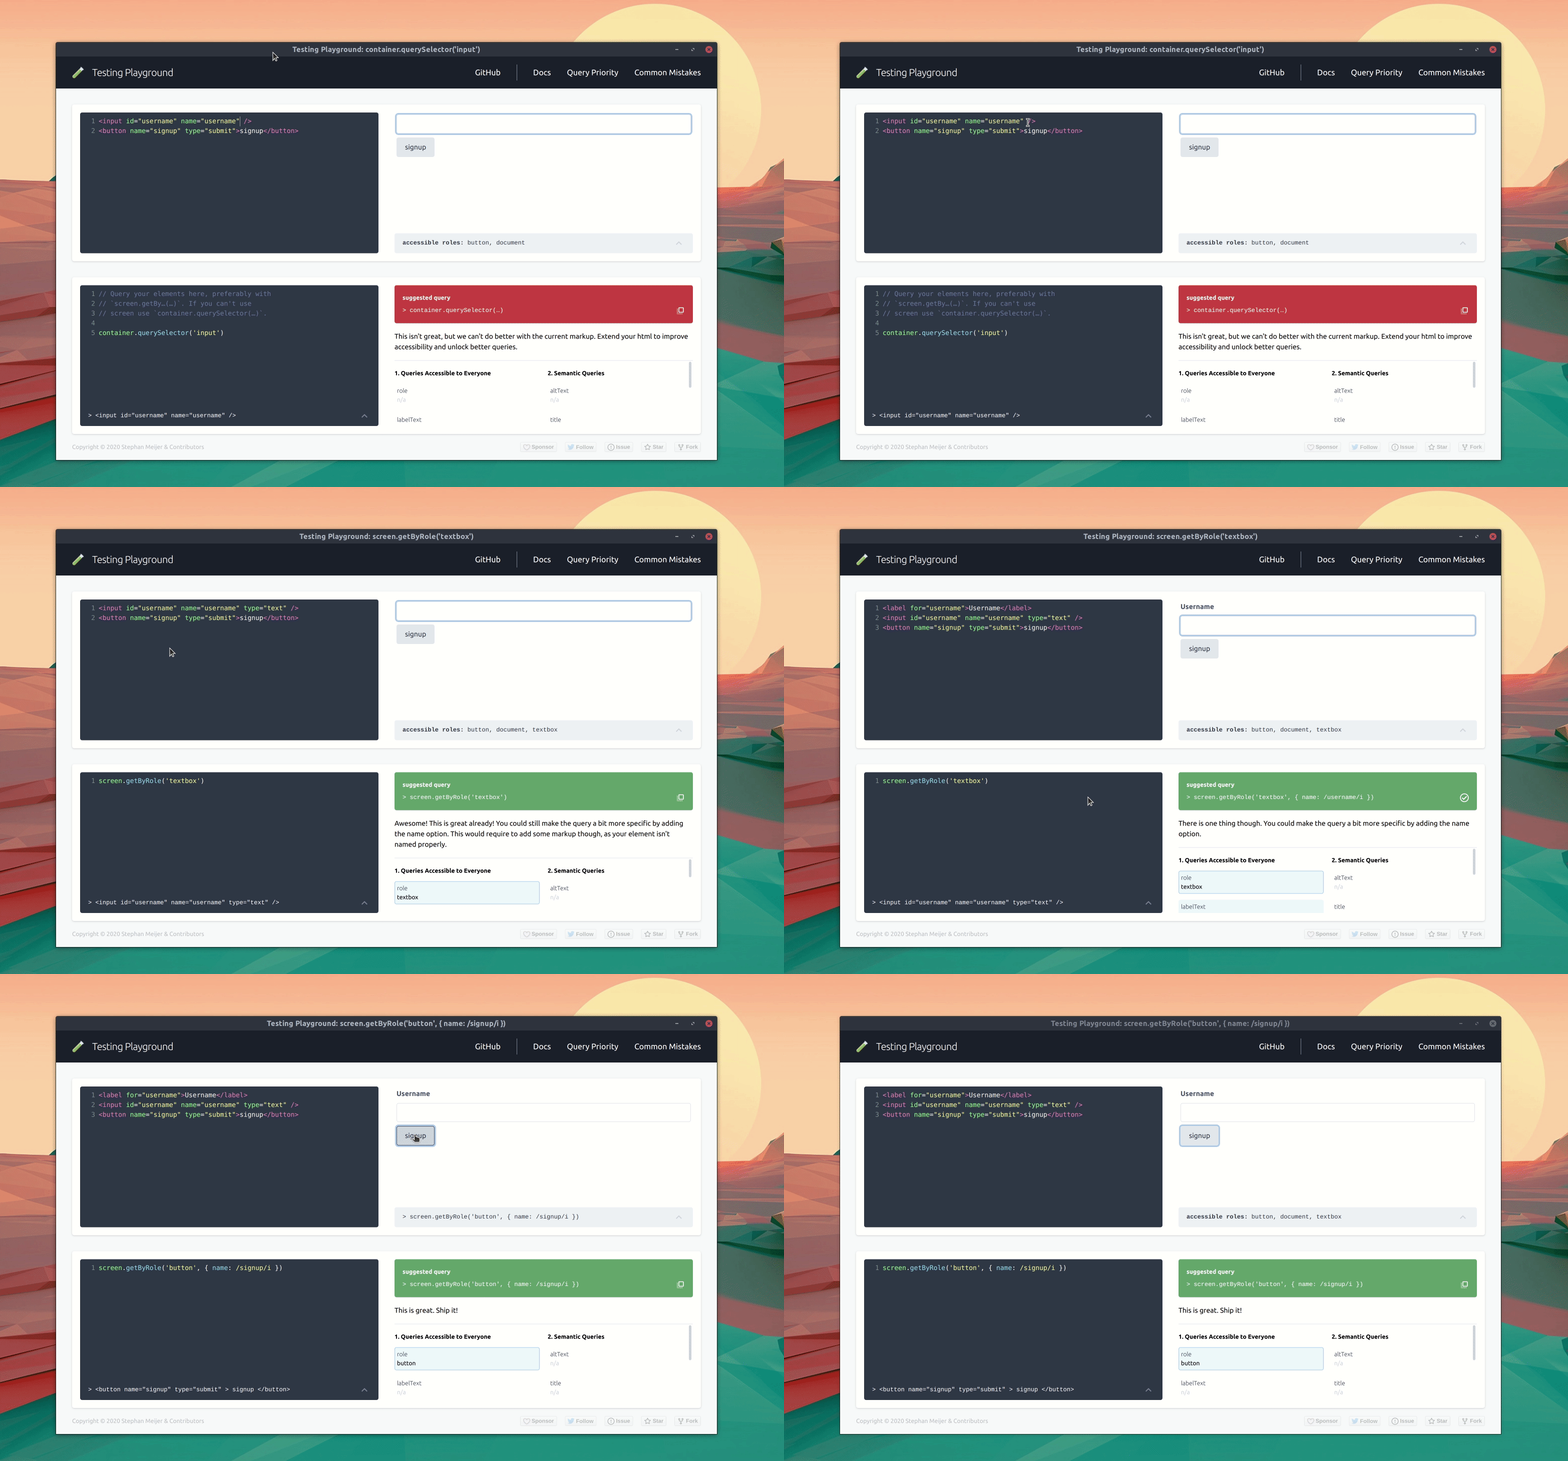
还是觉得不知道用什么查询方法?试试 testing-playground。
正则表达式🔗
除了精确匹配字符串外,正则表达式也是我们测试的好帮手。
getByText,getByRole 等常用的查询方法都支持正则表达式。
<form>
  <div>
    <label for="email">Email address</label>
    <input
      type="email"
      aria-describedby="email-help"
      placeholder="Enter email"
    />
  </div>
  <div>
    <label for="password">Password</label>
    <input type="password" placeholder="Password" />
  </div>
  <button type="submit">Submit</button>
</form>
screen.getByText(/email address/i);

screen.getByRole("button", { name: /submit/i });

screen.getByLabelText(/email address/i);

screen.getByPlaceholderText(/enter email/i);

// ...
排除 Loading 阶段对测试的影响🔗
就像我先前提到的,Testing Library 鼓励我们尽可能使测试接近真实的网页使用方式。因此,不到万不得已,Testing Library 并不鼓励我们使用 Mock。
(如何排除网络对测试的影响,答案:MSW)
所以,我们有时会遇到这种情况:组件已经渲染完成,但又没完全完成 (处于 Loading 阶段);但 Testing Library 不知道,这时进行查询,将无法找到目标节点。这时我们需要 find(All)By... 或 waitFor。
find(All)By... 和 get(All)By... 与 query(All)By... 最大的区别在于 find(All)By... 会在超时前 (默认 1000ms) 对失败的查询进行重试,直到找到为止。find(All)By... 会返回一个 Promise,因此我们需要使用 await 来获取查询到的节点,好在 Jest 支持异步测试:
describe("PageWithButton", () => {
  it("renders the page with a button", async () => {
    render(<PageWithButton />);

    const button = screen.getByRole("button", { name: "Click Me" });

    fireEvent.click(button);

    await screen.findByText("Clicked once");

    fireEvent.click(button);

    await screen.findByText("Clicked twice");
  });
});
waitFor 的作用和 find(All)By... 类似,它接受一个回调函数作为参数,你可以在回调函数中使用 get(All)By... 与 query(All)By... 查询 DOM 节点并使用 expect 进行断言。在超时前任意查询或者断言失败,waitFor 都会对其进行重试。
describe("PageWithButton", () => {
  it("renders the page with a button", async () => {
    render(<PageWithButton />);

    const button = screen.getByRole("button", { name: "Click Me" });

    fireEvent.click(button);

    await waitFor(() => {
      expect(screen.getByText("Clicked once")).toBeInTheDocument();
      // Other assertions
    });
    // Other test
  });
});
还有一个比较少用的方法 waitForElementToBeRemoved,他的作用是阻塞程序,直到某个 DOM 节点被从 Document 中移除。
describe("WillBeloadedForAWhile", () => {
  it("this page will be loaded for a while", async () => {
    render(<WillBeloadedForAWhile />);

    // The page is loading at this time.

    await waitForElementToBeRemoved(screen.getByText("Loading..."));

    // At this time, the page has been loaded.
  });
});
一些测试时常用的开发工具🔗
screen.debug🔗
在控制台中打印出当前的 DOM Tree。它的本质是对 console.log(prettyDOM()) 的封装。
describe("screen.debug", () => {
  it("Print the current DOM Tree in the console", async () => {
    render(<SomeComponent />);

    screen.debug(); // debug document
    screen.debug(screen.getByText("test")); // debug single element
    screen.debug(screen.getAllByText("multi-test")); // debug multiple elements
  });
});
screen.logTestingPlaygroundURL🔗
在控制台中打印一个链接,点开它就可以在 testing-playground 中交互的调试。
describe("screen.debug", () => {
  it("Print the current DOM Tree in the console", async () => {
    render(<SomeComponent />);

    screen.logTestingPlaygroundURL(); // log entire document to testing-playground
    screen.logTestingPlaygroundURL(screen.getByText("test")); // log a single element
  });
});
logRoles🔗
在控制台打印此 DOM 节点和其子节点的所有 WAI-ARIA Roles。需要注意的是 logRoles 不是 screen 的方法 (需要单独导入),并且参数不能为空。
<ul>
  <li>Item 1</li>
  <li>Item 2</li>
</ul>
import { logRoles, render } from "@testing-library/react";

describe("SomeList", () => {
  it("renders some list", async () => {
    const { container } = render(<SomeList />);

    logRoles(container);
  });
});
控制台输出:
navigation:
<nav />
--------------------------------------------------
list:
<ul />
--------------------------------------------------
listitem:
<li />
<li />
--------------------------------------------------
testing-playground🔗
testing-playground 是一个交互式的沙盒 (网页),你可以在其中用鼠标选择 DOM 节点,testing-playground 会告诉你查找次 DOM 节点的最佳查询规则。
